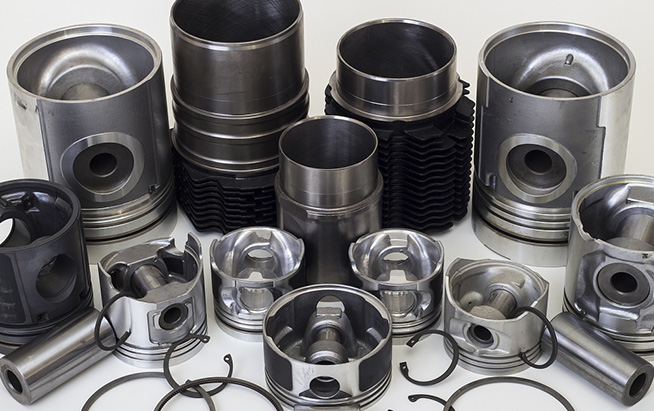
Are you a motorcycle enthusiast or a mechanic looking to ensure optimal performance from your bike's engine? Understanding how to check motorcycle piston ring is crucial for maintaining engine health and performance. In this comprehensive guide, we'll walk you through the step-by-step process of inspecting piston rings to detect any signs of wear or damage.

Piston rings play a vital role in the combustion process of a motorcycle engine. They create a seal between the piston and cylinder wall, preventing the escape of gases and ensuring efficient power delivery. Over time, piston rings can wear out due to factors such as high mileage, improper lubrication, or engine overheating. Detecting worn or damaged piston ring early can prevent further engine damage and costly repairs.
Tools Required for Inspection
Before you begin inspecting the motorcycle piston rings, gather the necessary tools:
Socket wrench set
Torque wrench
Piston ring compressor
Feeler gauges
Flashlight
Shop manual (for specific motorcycle model)
Having these tools on hand will facilitate a thorough and accurate inspection of the piston rings.
Step-by-Step Inspection Process
Follow these steps to check the condition of the motorcycle piston rings:
1. Preparation
Start by ensuring the motorcycle is on a stable surface and the engine has cooled down to avoid any accidents or burns. Refer to the shop manual for your motorcycle to locate the piston rings and disassemble any components obstructing access.
2. Visual Inspection
Use a flashlight to inspect the piston rings for any visible signs of damage or wear. Look for scratches, scoring, or pitting on the surface of the rings and cylinder walls. Also, check for carbon buildup or oil residue, indicating potential sealing issues.
3. Compression Test
Perform a compression test to assess the sealing ability of the Automobile Piston Ring. Remove the spark plug and attach a compression gauge to the spark plug hole. Crank the engine several times and record the compression readings. Low compression levels may indicate worn or damaged piston rings.
4. Ring End Gap Measurement
Using feeler gauges, measure the end gap of each piston ring. Refer to the shop manual for the recommended end gap specifications for your motorcycle model. Excessive end gap can lead to poor compression and reduced engine performance.
5. Piston Ring Side Clearance
Check the side clearance of the piston rings within the ring grooves using feeler gauges. Insufficient side clearance can cause the rings to bind and hinder proper engine operation. Ensure the rings move freely within their grooves without any binding.
6. Cylinder Bore Inspection
Inspect the cylinder bore for signs of wear, scoring, or out-of-roundness. Worn cylinder walls can accelerate piston ring wear and compromise engine performance. Measure the bore diameter at various points using a bore gauge to ensure it meets the manufacturer's specifications.
7. Reassembly and Testing
After completing the inspection, reassemble any disassembled components following the shop manual's instructions. Perform a final test run to verify the engine's performance and compression levels. Address any issues discovered during the inspection process before returning the motorcycle to service.
Conclusion
Regular inspection of motorcycle piston rings is essential for maintaining engine reliability and performance. By following the step-by-step process outlined in this guide, you can identify and address any piston ring issues before they escalate into major problems. Remember to refer to the shop manual for your motorcycle model for specific instructions and specifications.


Comments
Please Join Us to post.
0