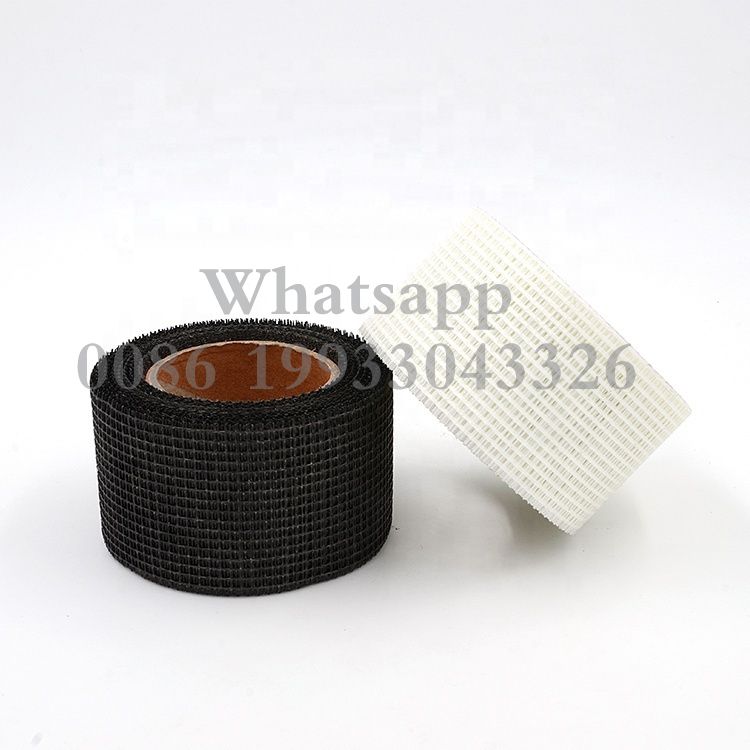
Mastering the Art of Drywall Taping: A Comprehensive Guide to Using Fiberglass Mesh Drywall Tape
Drywall taping is a crucial step in achieving a smooth and seamless finish for your walls. Among the various types of drywall tapes available, fiberglass mesh drywall tape stands out for its ease of use and durability. In this guide, we'll delve into the step-by-step process of using fiberglass mesh drywall tape to achieve professional-looking results.
Step 1: Gather Your Materials
Before you begin, make sure you have all the necessary materials on hand. You'll need fiberglass mesh drywall tape, a utility knife or scissors, a mud pan, and joint compound. Ensure that your drywall surfaces are clean and free from dust or debris for optimal adhesion.
Step 2: Measure and Cut the Tape
Start by measuring the length of the seams or joints you'll be taping. Cut the fiberglass mesh tape to the desired length using a utility knife or scissors. It's essential to cut the tape to the right size, as this will contribute to a neat and efficient application.
Step 3: Apply the Joint Compound
Using a mud pan and a putty knife, spread a thin layer of joint compound over the seam or joint you're taping. Ensure that the joint compound is applied evenly, covering the entire area where the tape will be placed. This creates a smooth surface for the fiberglass mesh tape to adhere to.
Step 4: Place the Fiberglass Mesh Tape
Carefully position the cut fiberglass mesh tape over the wet joint compound, ensuring it aligns with the seam or joint. Press the tape into the compound using your putty knife, ensuring it adheres securely. The mesh design of the tape allows for better flexibility and bonding.
Step 5: Embed the Tape in Joint Compound
Apply another layer of joint compound over the fiberglass mesh tape, using the putty knife to embed the tape into the compound. Feather the edges to create a seamless transition between the taped area and the surrounding wall. This step helps to strengthen the joint and prevents the tape from becoming visible once the wall is painted.
Step 6: Smooth and Feather Edges
Once the joint compound is applied, go over the taped area with a clean putty knife to smooth and feather the edges. This process helps create a seamless transition between the taped area and the rest of the wall. Pay attention to details, as a well-finished tape job contributes significantly to the overall appearance of the wall.
Step 7: Allow for Drying Time
Allow the joint compound to dry completely before sanding or applying additional layers. Drying times may vary depending on the type of joint compound used and environmental conditions, so be patient and follow the manufacturer's recommendations.
Conclusion
Mastering the art of drywall taping with fiberglass mesh tape requires attention to detail and a systematic approach. By following these steps, you can achieve professional results, creating smooth and flawless walls that serve as a testament to your craftsmanship. Fiberglass drywall tape, with its ease of use and durability, is an excellent choice for both DIY enthusiasts and professional contractors alike.


